 Skip to content
Table of Contents
What Are Salesforce Communities?
What Are Lightning Bolts?
The Main Elements of Lightning Bolt Solutions
How to Build Bolt Solutions
#1 Create a Bolt
How to Install Bolt Solutions to Your Organization?
Conclusion
(saving you a lot of time and money.)
In this guide, you will learn what is bolt solutions and the exact steps to create a bolt for your organization so you can work more efficiently.
Let’s get started.
What Are Salesforce Communities?
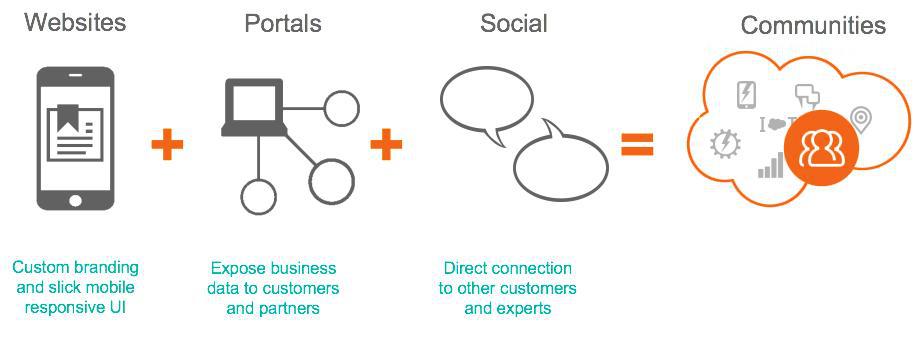
Salesforce Communities are brand spaces designed specifically for Salesforce customers to connect with the community outside their organization and collaborate with them.
These outside communities can be employees, partners, or customers.
Salesforce Communities are a combination of these three elements.
What Are Lightning Bolts?
Bolts are templates you can create for your communities, which allow Salesforce users to pre-configure or pre-assemble new communities.
This allows anyone to create templates allowing you to build a community to distribute and reuse.

It takes away the tedious process of starting a new community from scratch.
(and saves you a lot of time.)
The Main Elements of Lightning Bolt Solutions
Lightning bolts are templates made of four elements, these are namely.
- Theme. The overall look and feel of the site.
- Layouts. The UI of each page.
- Pages. The containers for components.
- Components. The standard and custom components.
How to Build Bolt Solutions
In this section, you’ll discover how to use lightning bolt solutions to create communities you can reuse and distribute for your organization.
#1 Create a Bolt
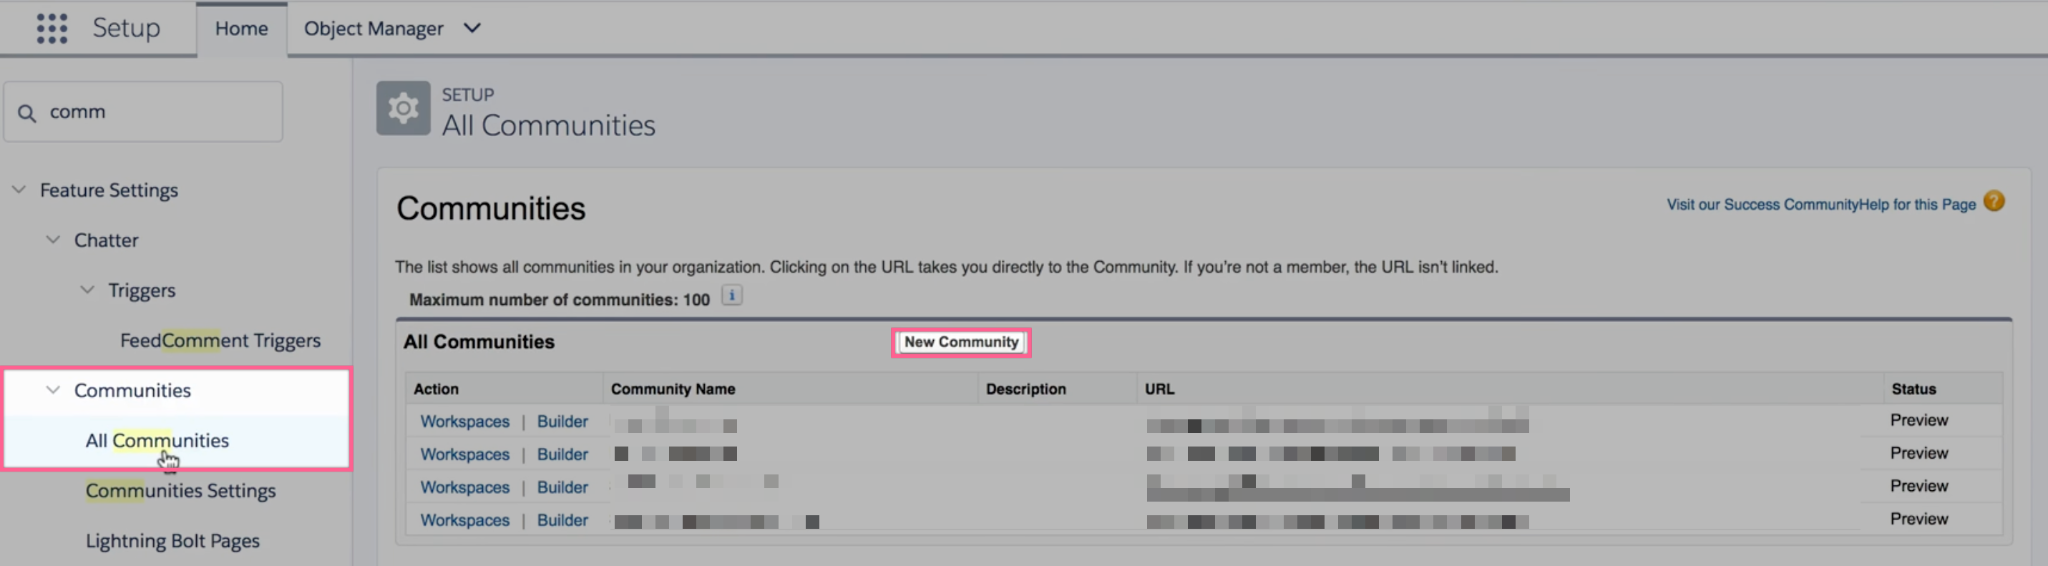
You need to build a community template you’re going to later distribute and reuse. To do that, head over to Communities –> All Communities –> New Community.
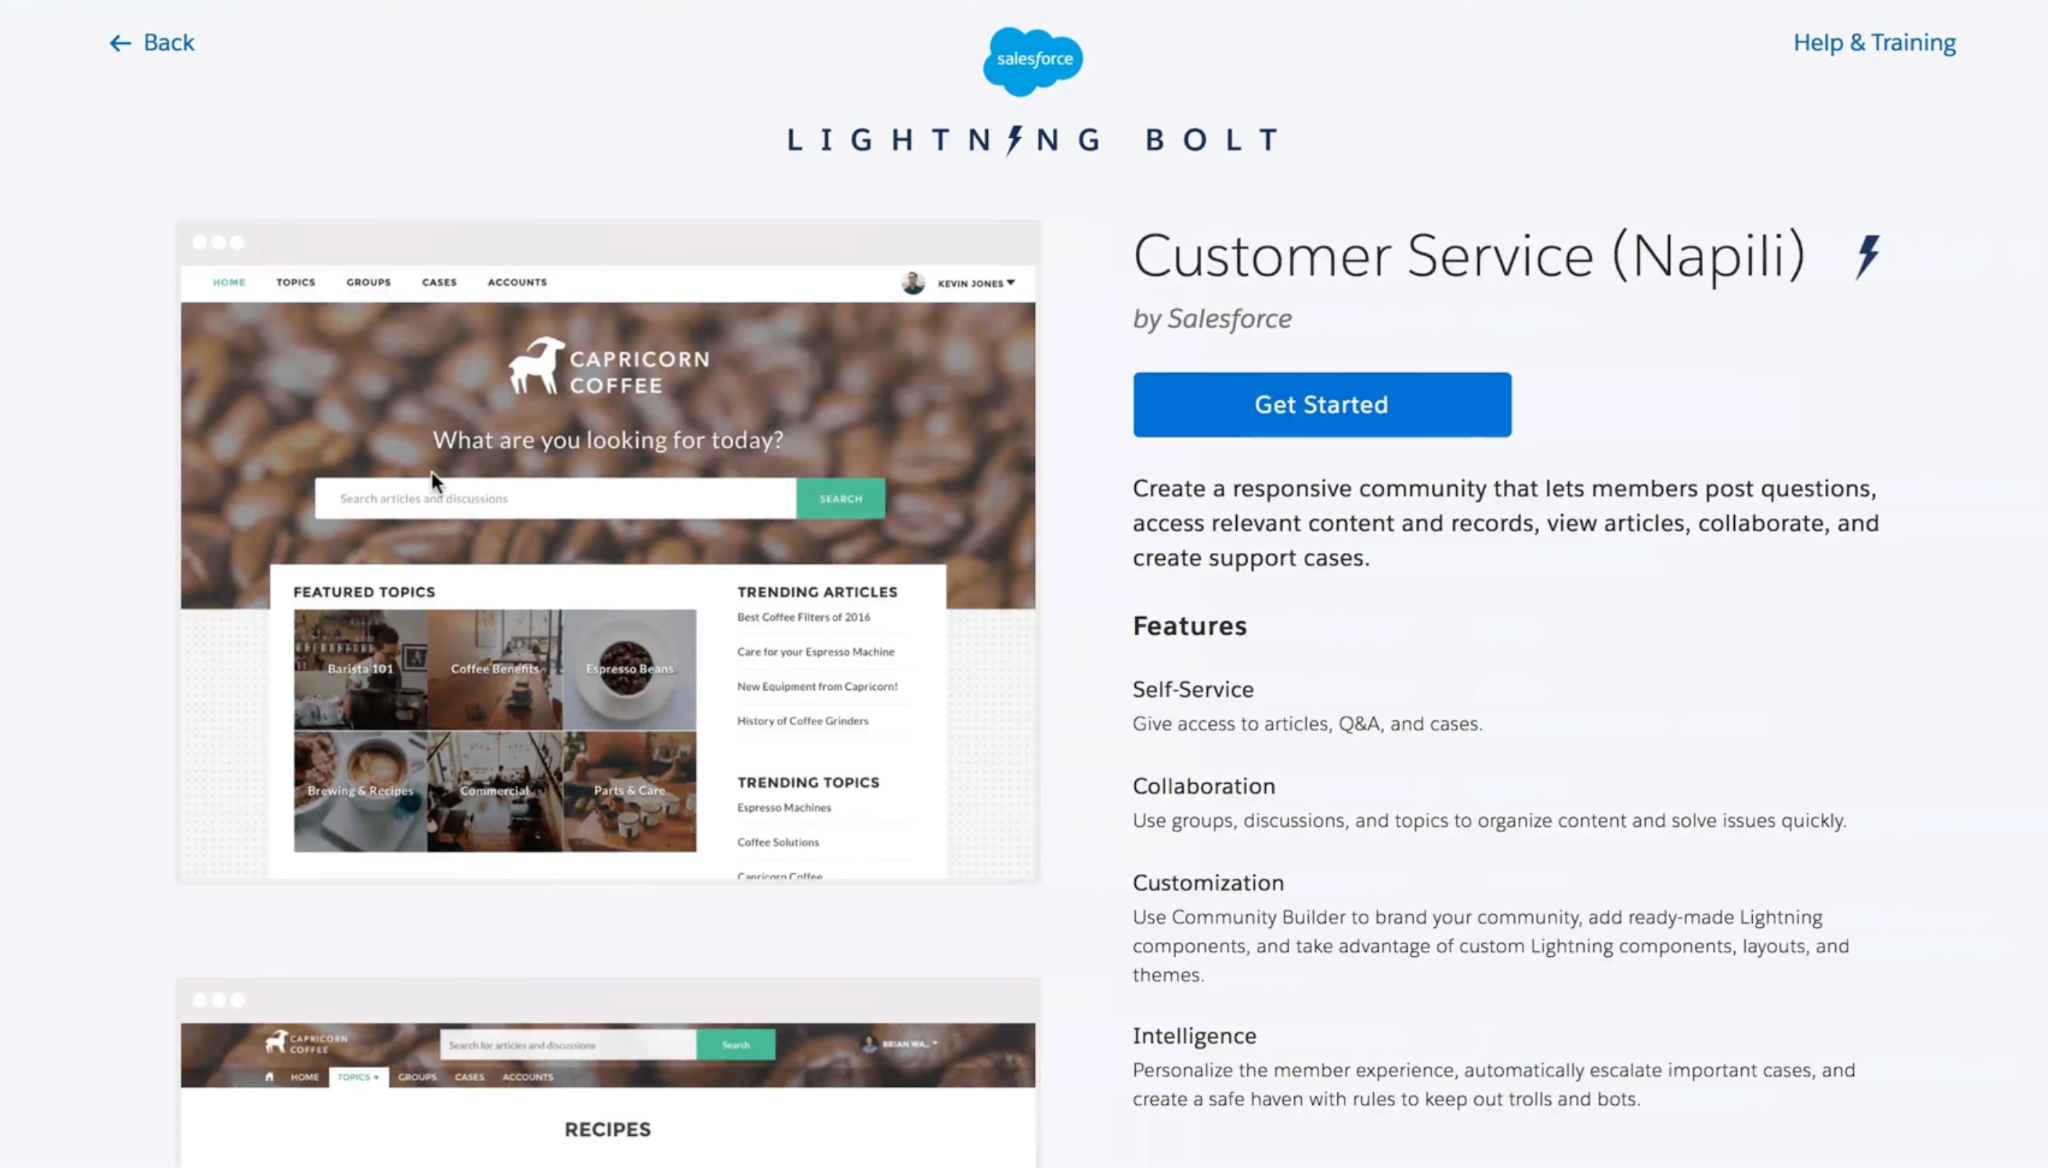
You’ll then have to choose from a variety of community types. The most common starting point is Customer Service (Napili.)
After that, you’ll be prompted to fill in the name and URL.
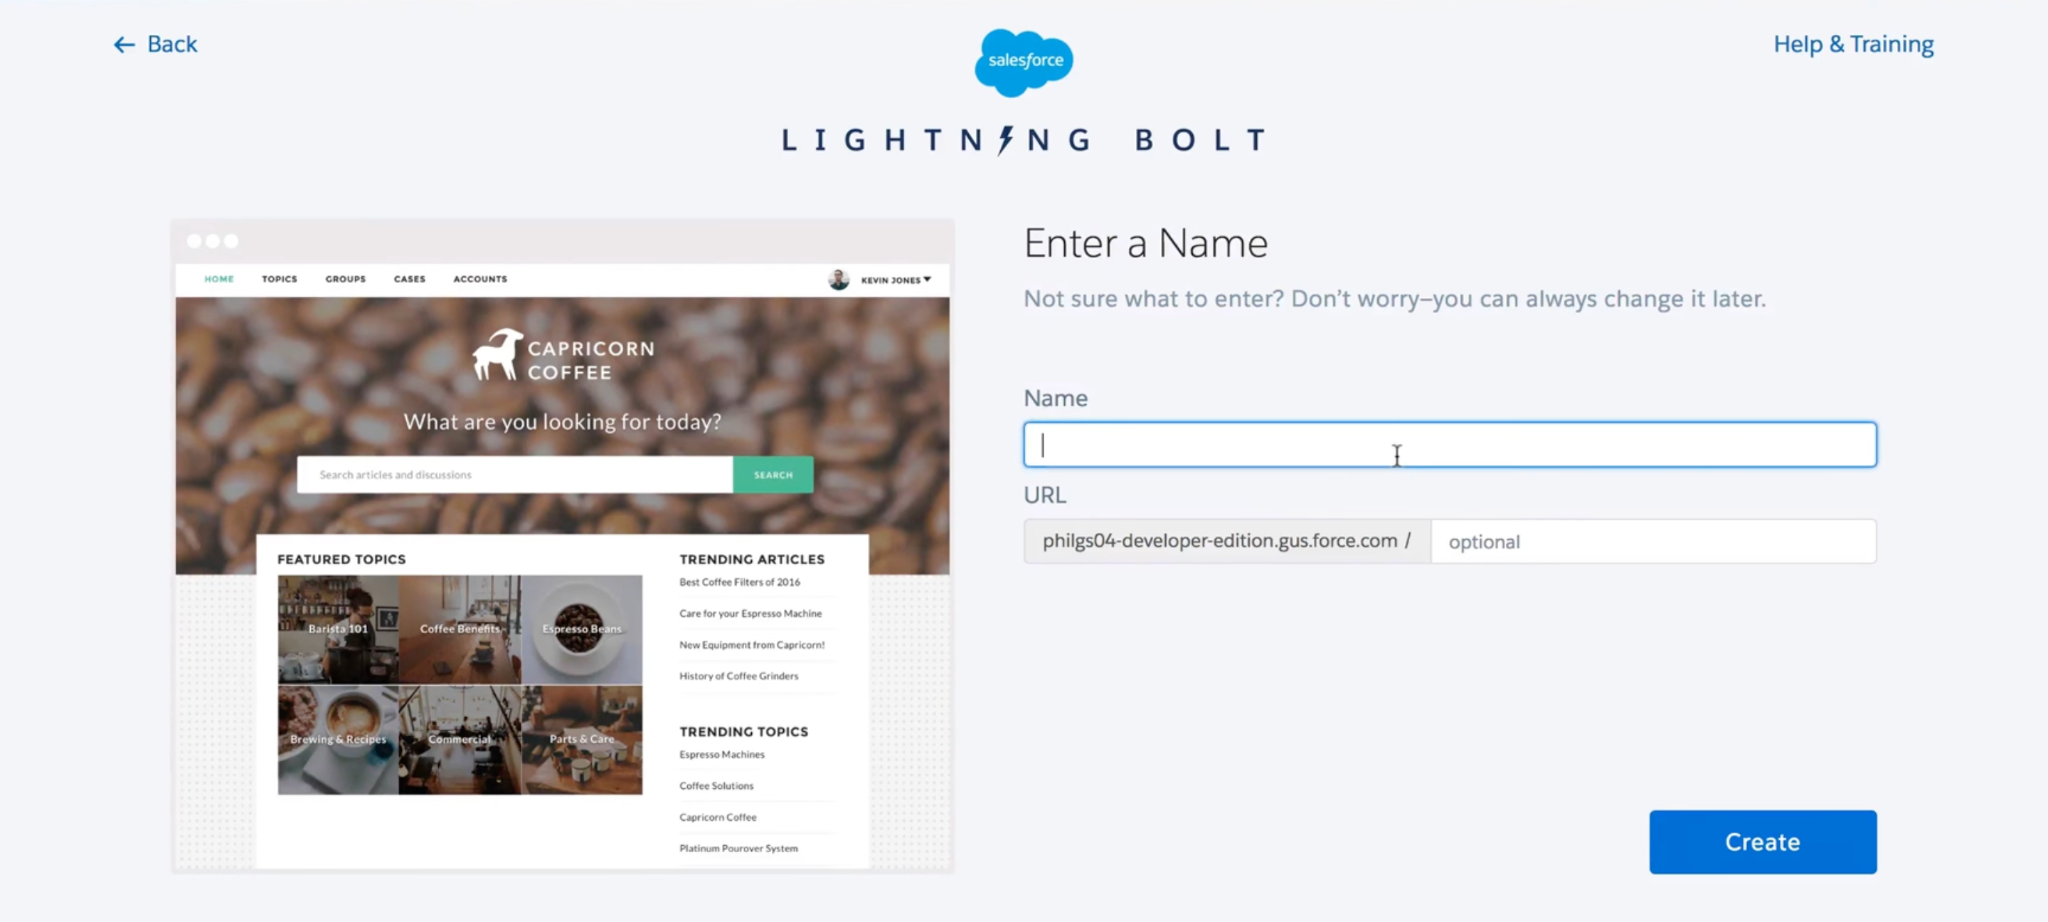
And you’re done – you’ve just made a new Salesforce Community.
#2: Customize the Bolt
You’ll now have to customize your template to your preference. You can easily do that by using the Builder tool, which is a simple drag-and-drop editor.
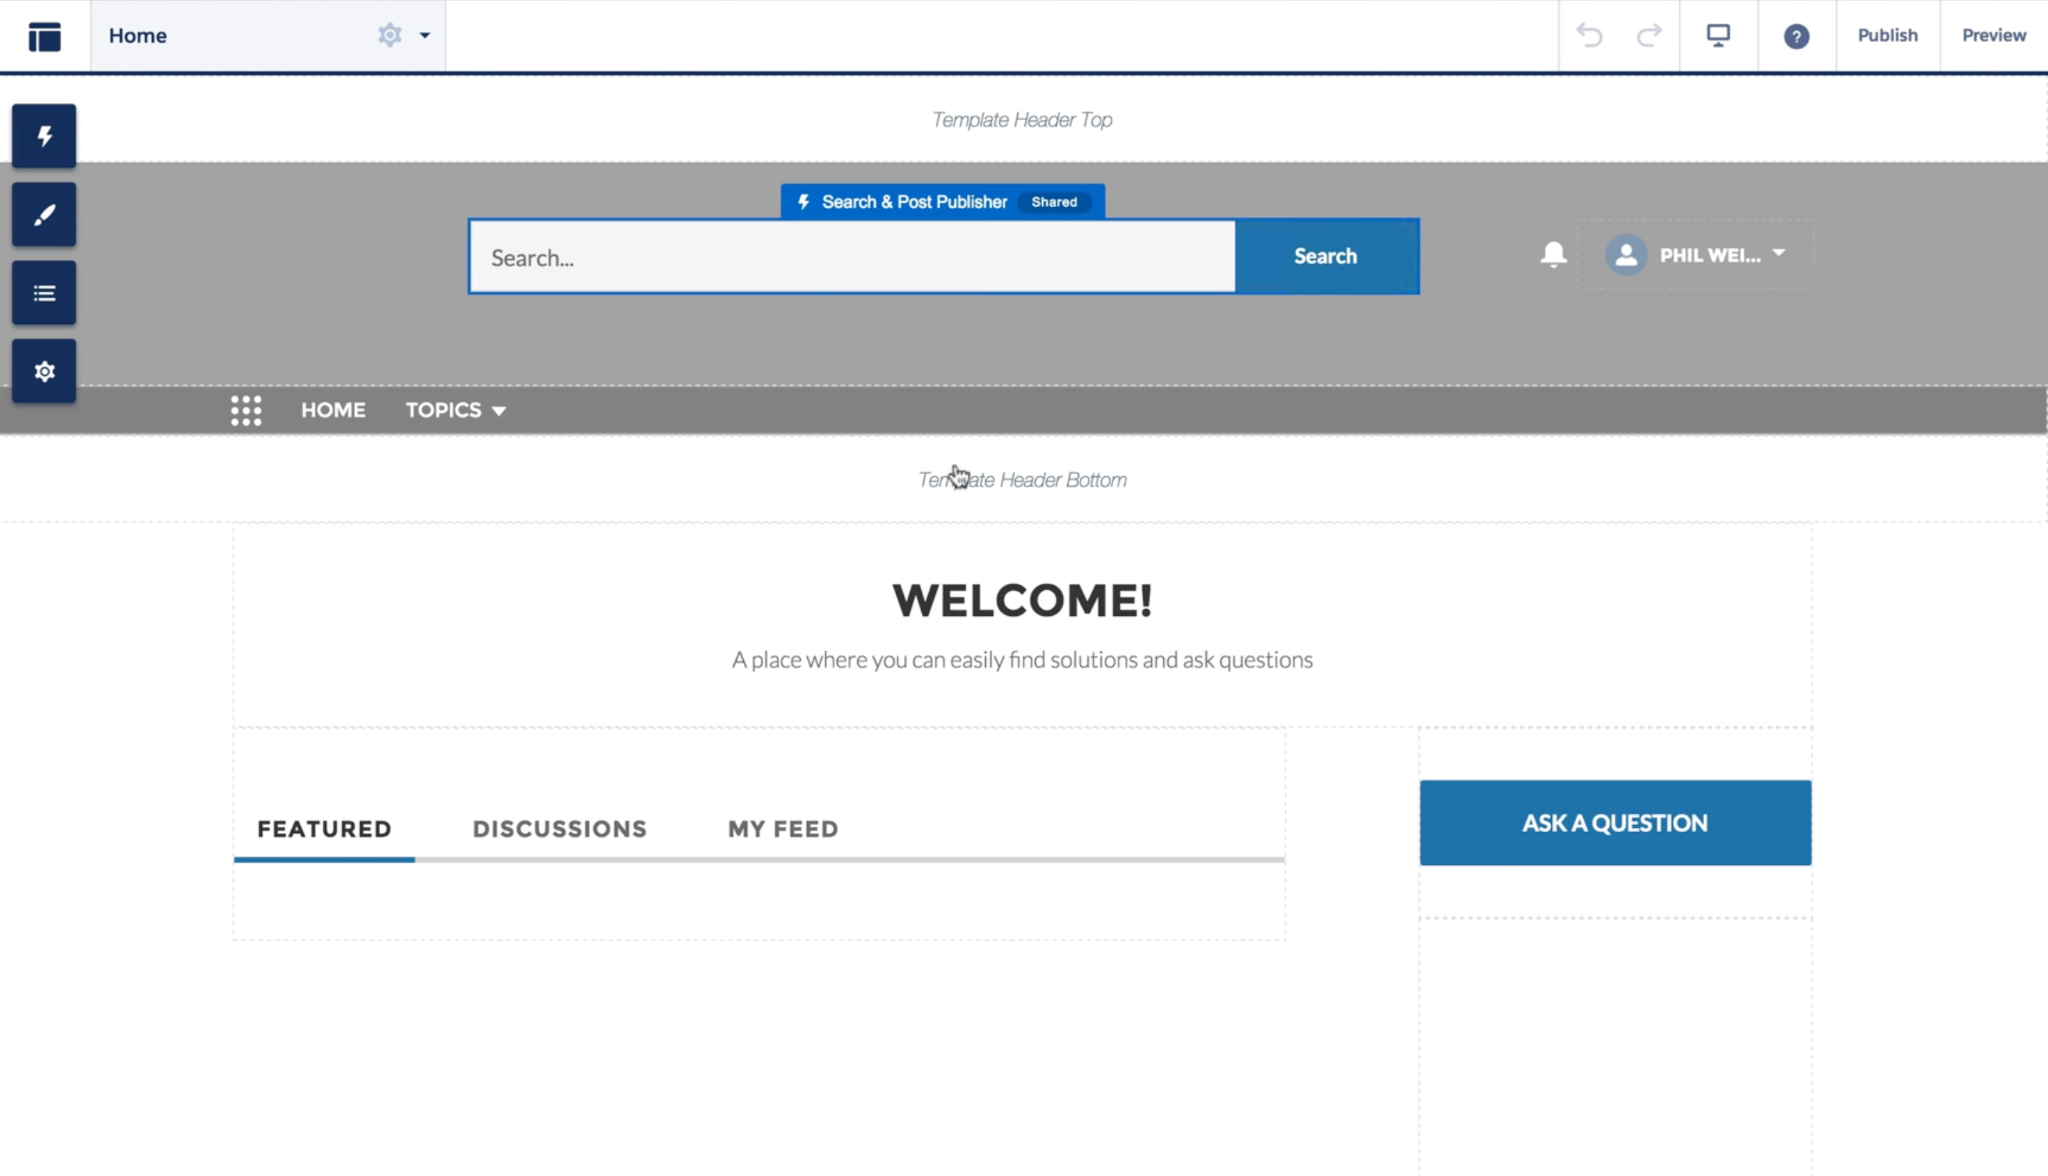
You can create multiple pages, add custom elements, and put your branding on the bolt.
It should not take a lot of time – you can be done in a couple of minutes.
#3: Add Processes
You’ll then need to add automation to your bolt pages.
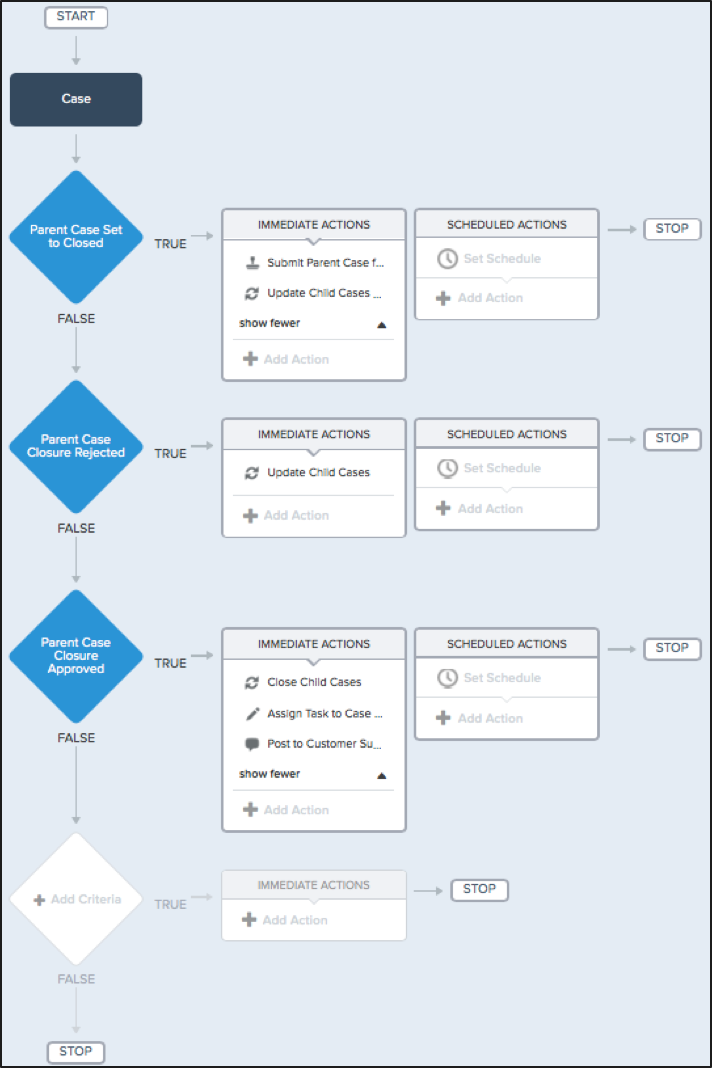
For instance, we’ve created a page that contains a form you can fill in. If you leave it like that, and add no processes to it, nothing will happen after a user submits it.
To configure this, you want to go to the Process Builder.
There you can add processes to automate your components on each page. It can look like the example below for our form.
Learn more about creating processes with the process builder.
#4: Export the Solution
Now you want to head over to your Bolt and export it.
Go to the communities and select the community we’ve created. After that, head over to Builder → Settings → Developer.
You will see a dialog where you have to fill in all important information about the Bolt as below.
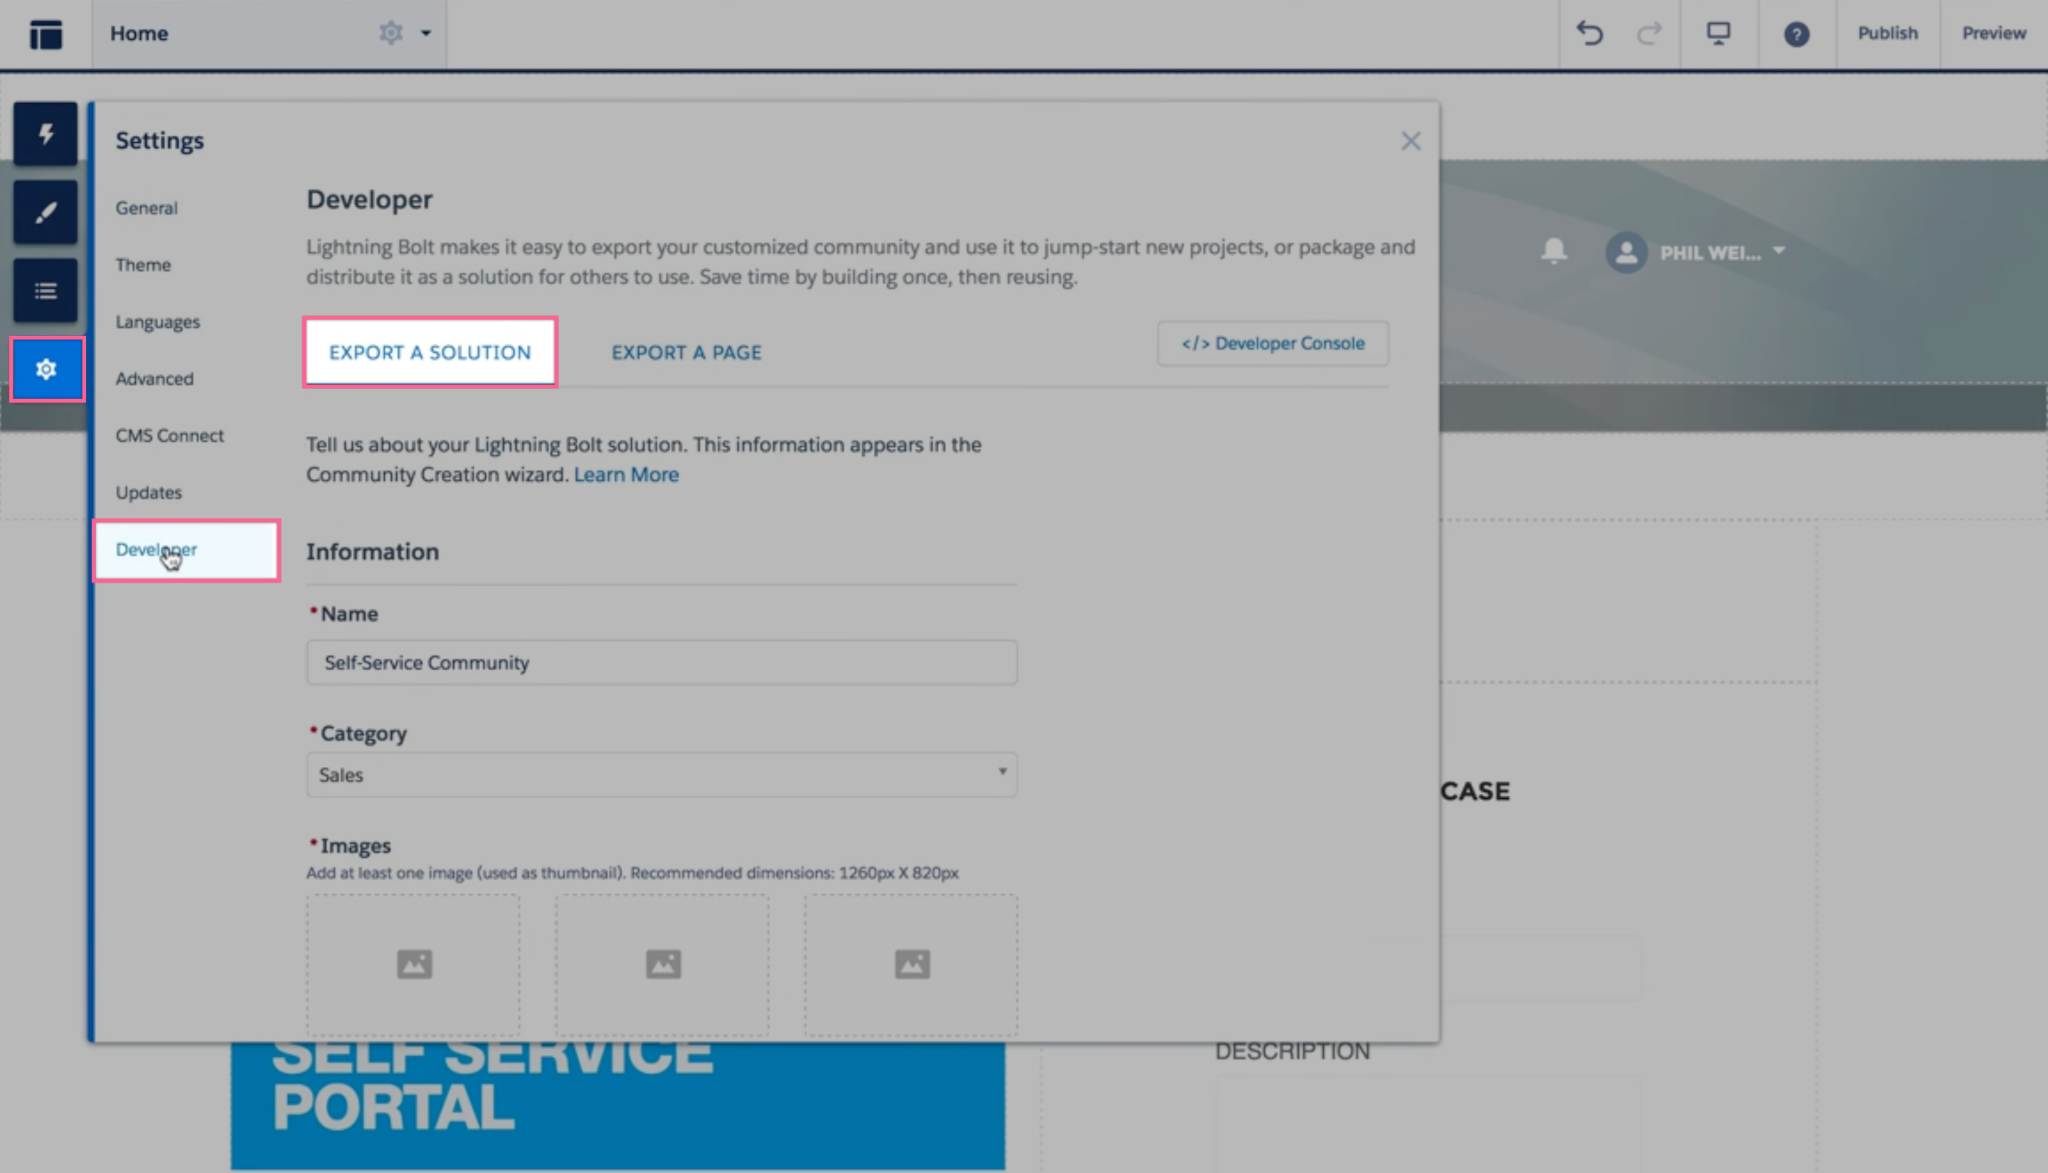
After you’re done, hit export, and your bolt will be exported. Make sure you take your time and fill in everything properly.
You’ll be sharing this with other organizations, so it’s important to make it look professional.
#4: Package Everything
The last step of this process is to put it all together into a package that you can share.
Head over to Package Manager and create a new package which you will export with your newly created Bolt.
Click on Add to create a new package for your Bolt.
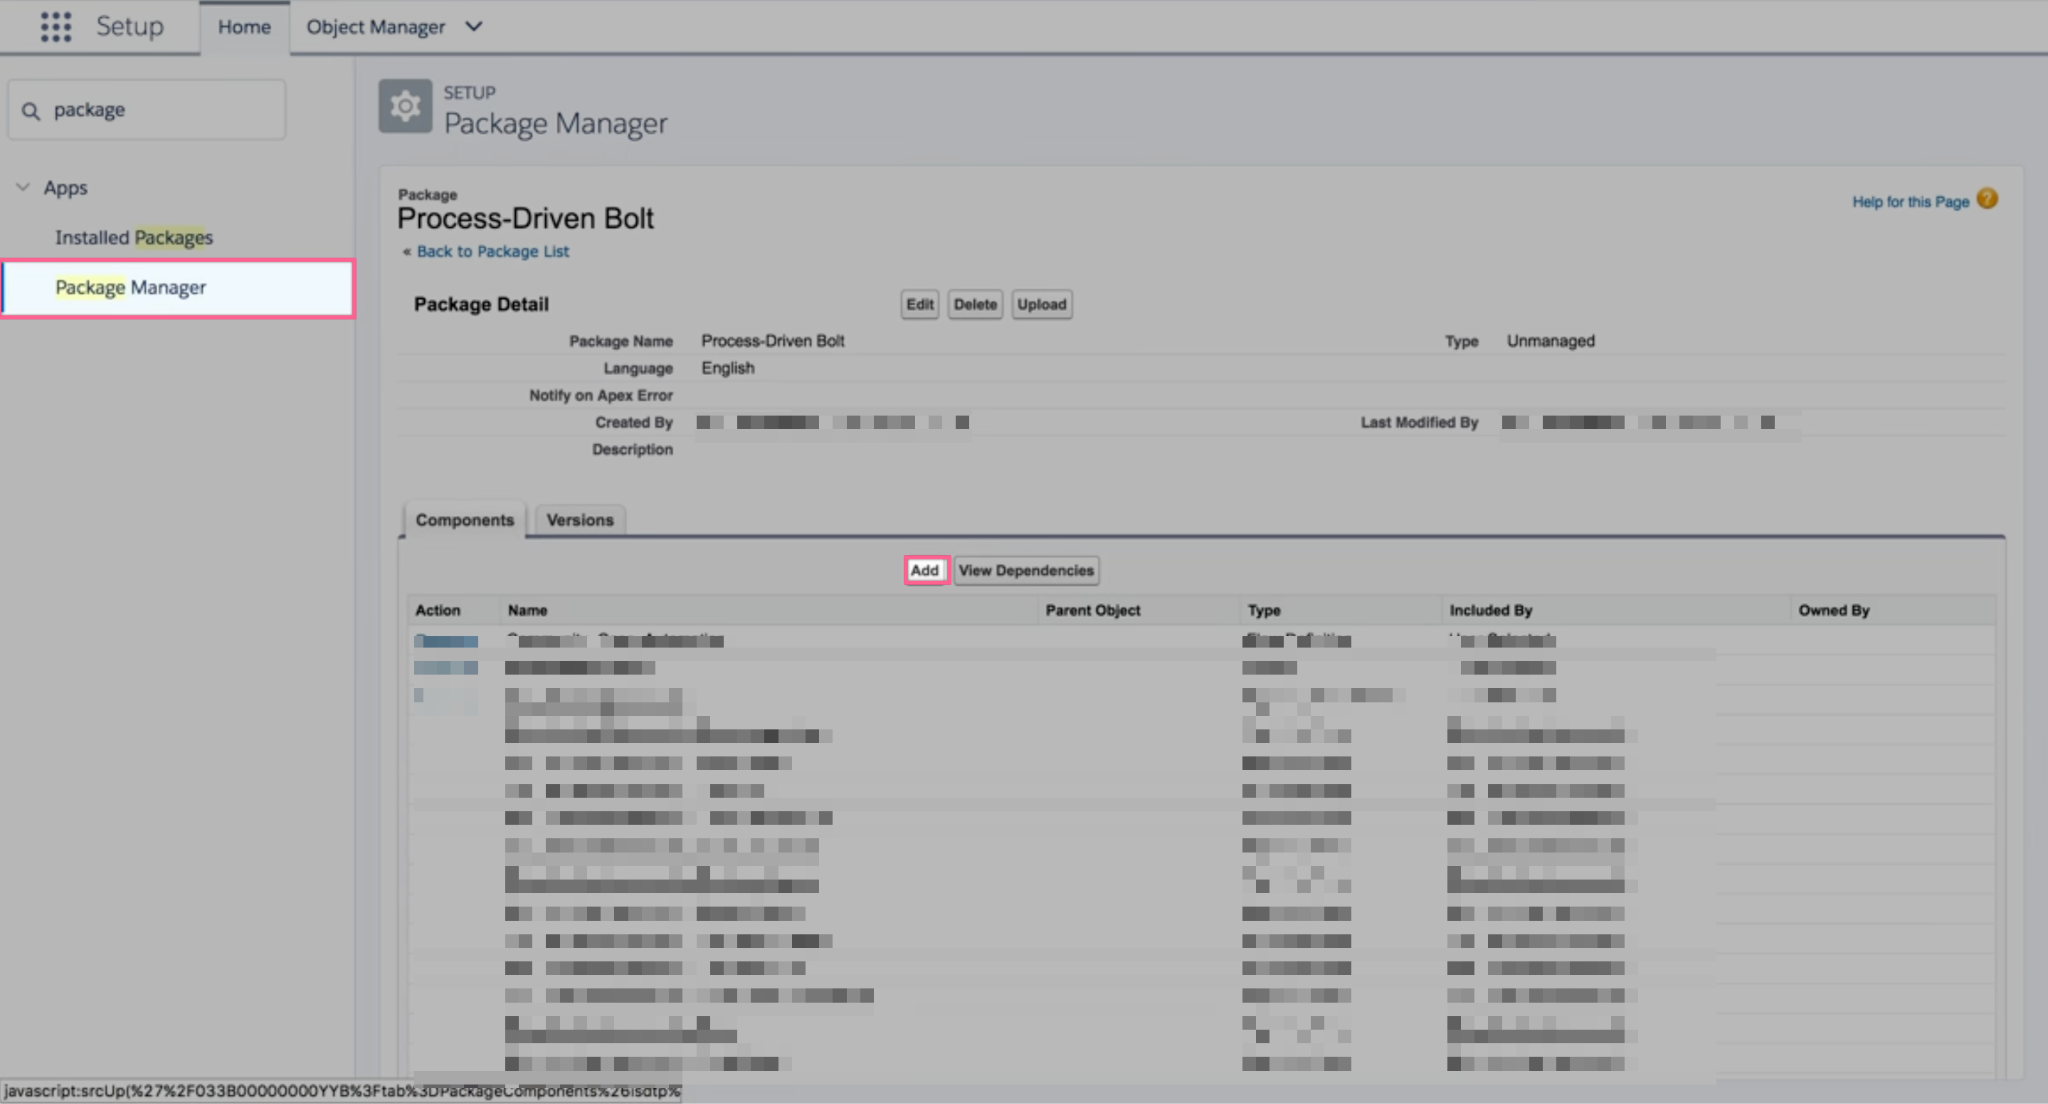
You will then need to add components of your Bolt in the package – including the processes and actions. The process of packaging takes usually around 30 minutes.
You’re now able to share your package and reuse your community template with other organizations.
How to Install Bolt Solutions to Your Organization?
It’s vital to help other organizations with the installation of your Bolt.
You have two options for sharing your package:
- Share a private link
- Distribute via AppExchange
Install a Package via Link
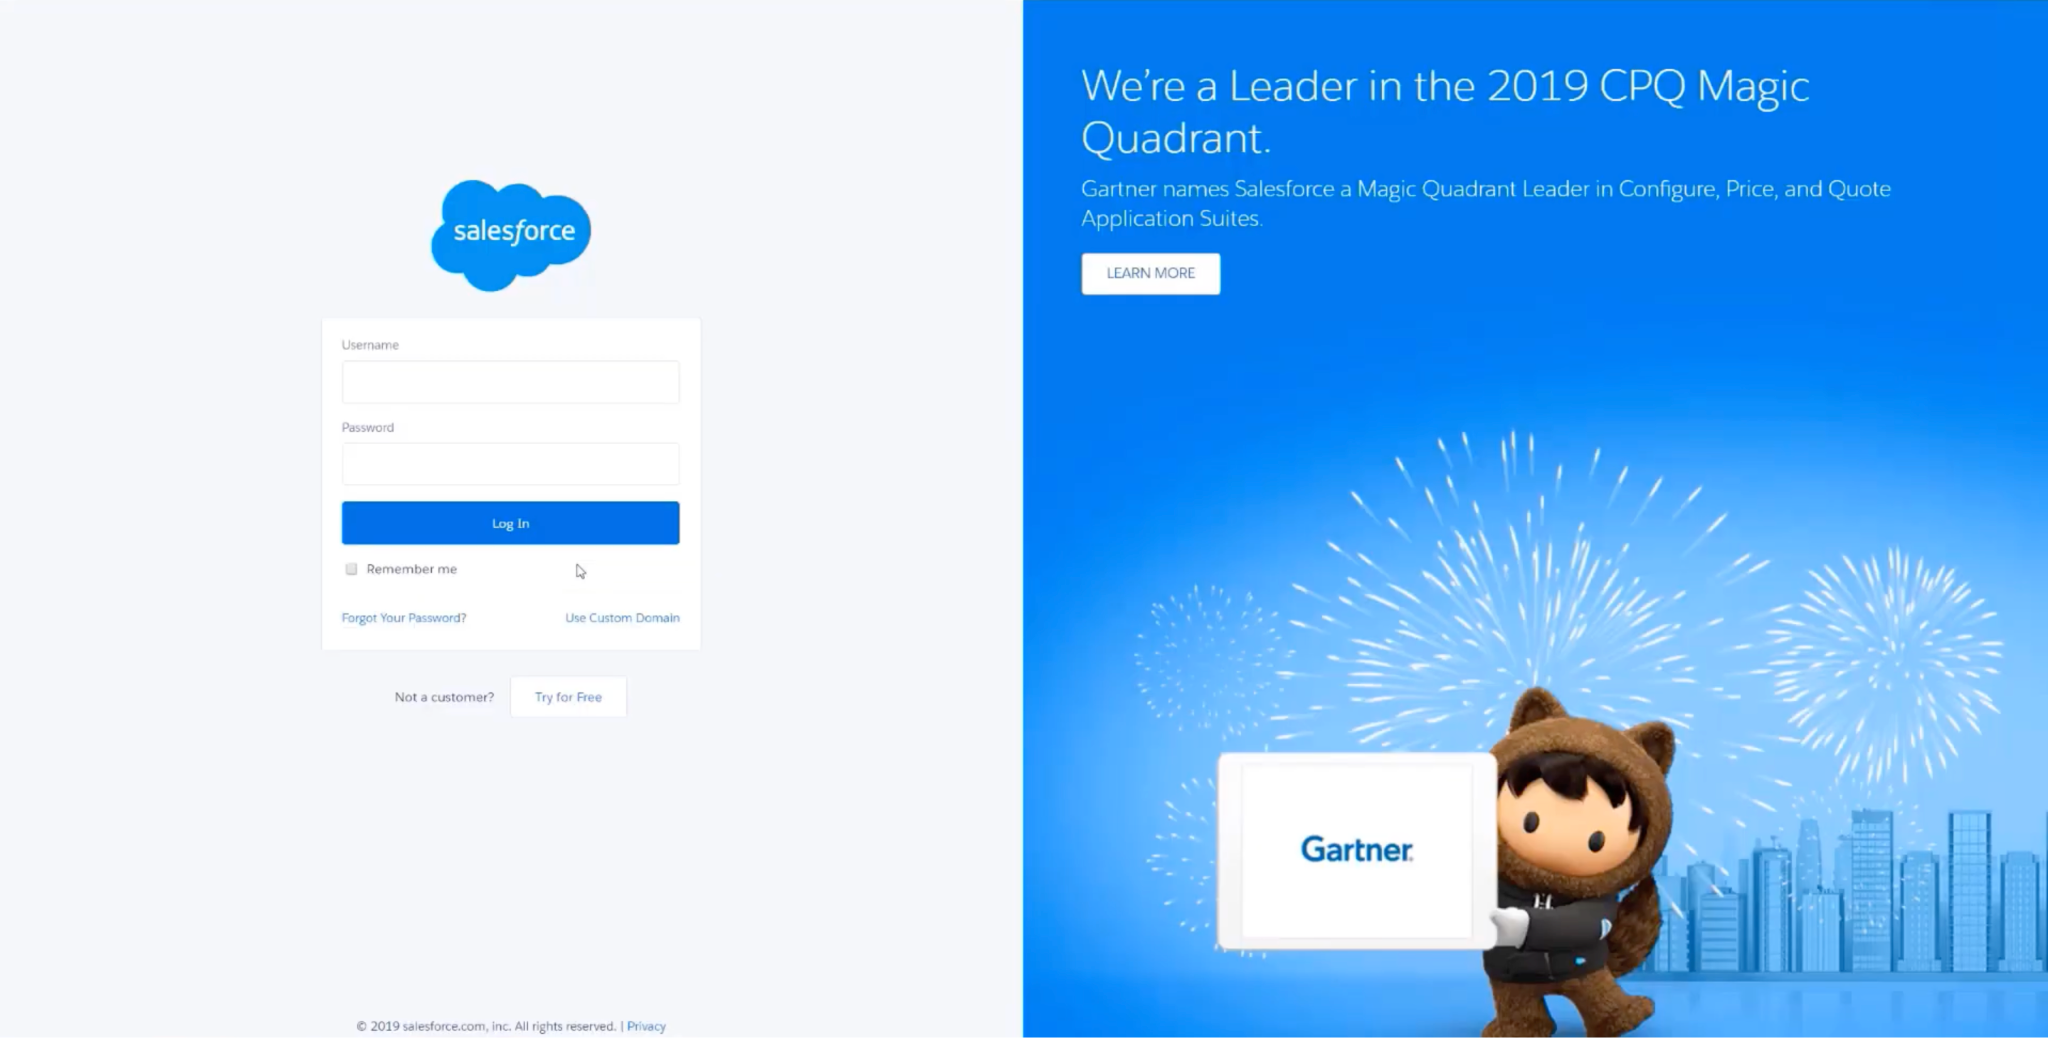
You’ll need to click on the private package link and log into your account.
After that, you’ll see the installation setup where you can choose who can use the package. If the package is protected, you’ll also need to fill in the installation key.
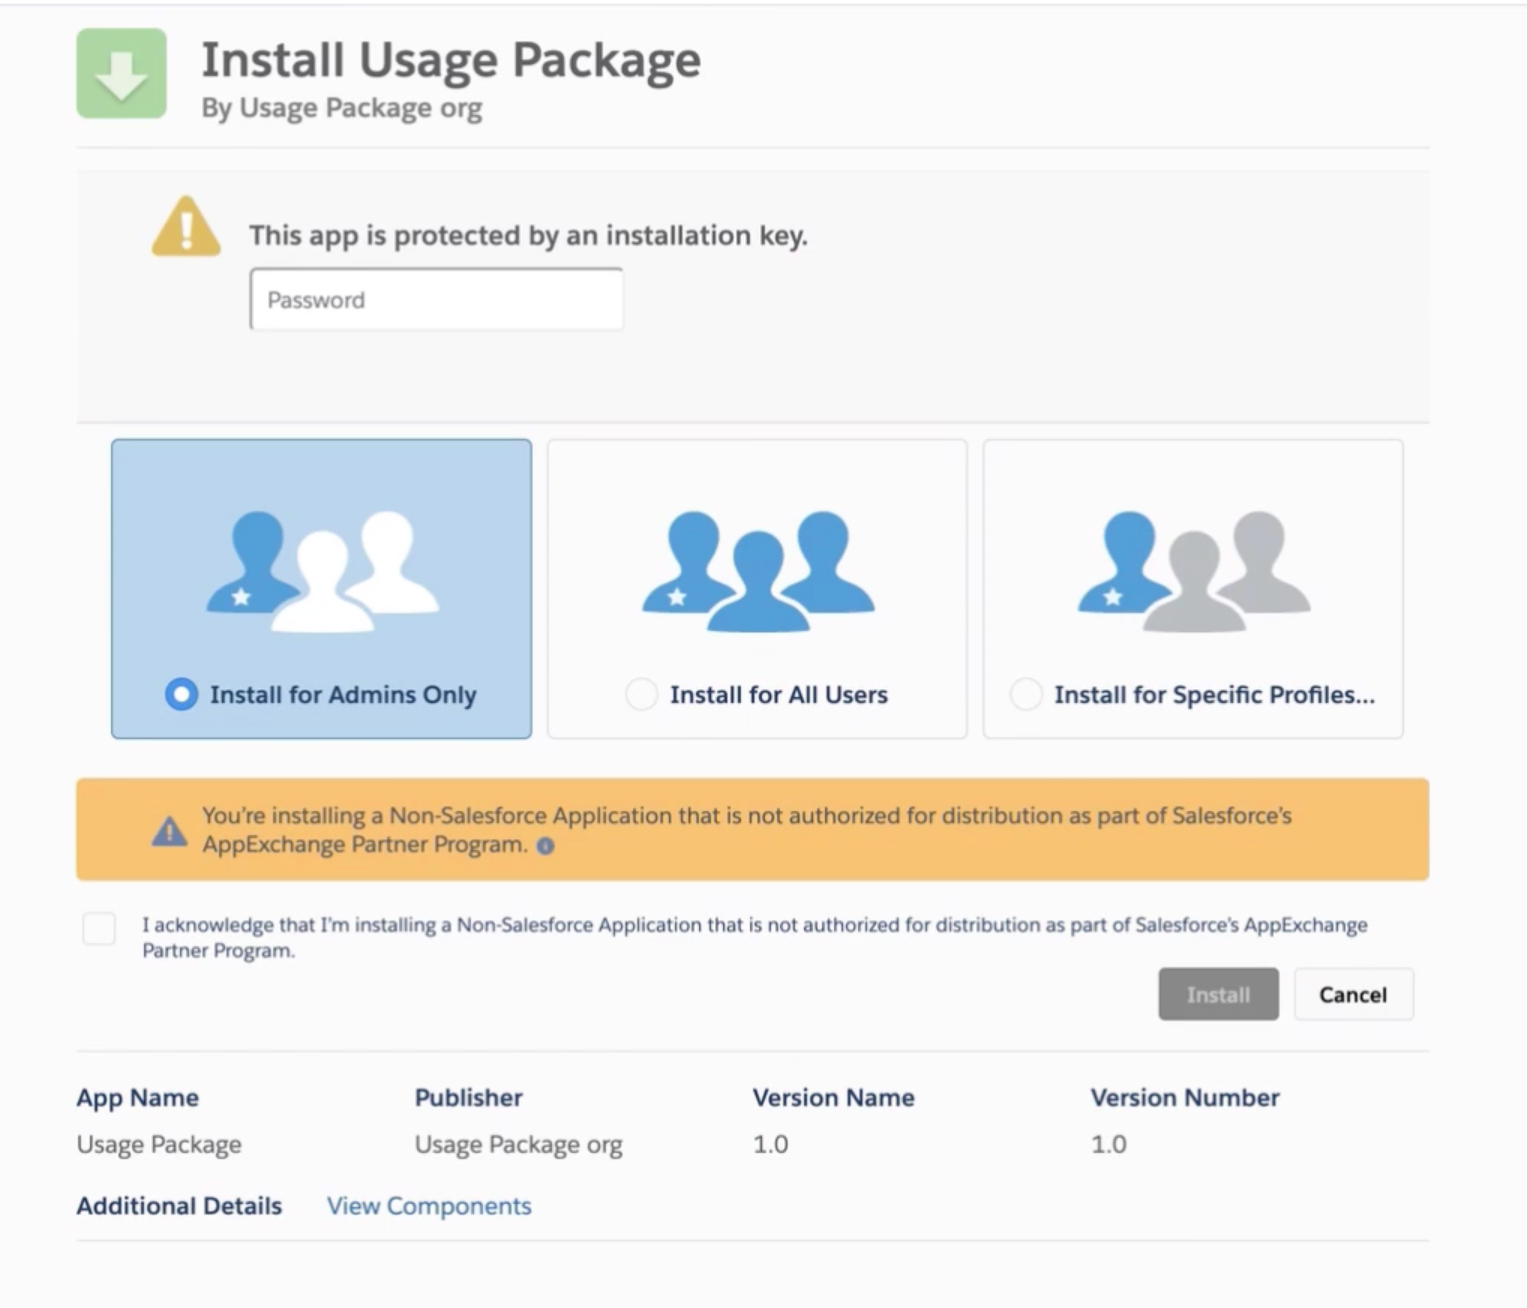
Hit Install, and the package will be automatically installed for your organization. You can then head over to the installed packages and use it from there.
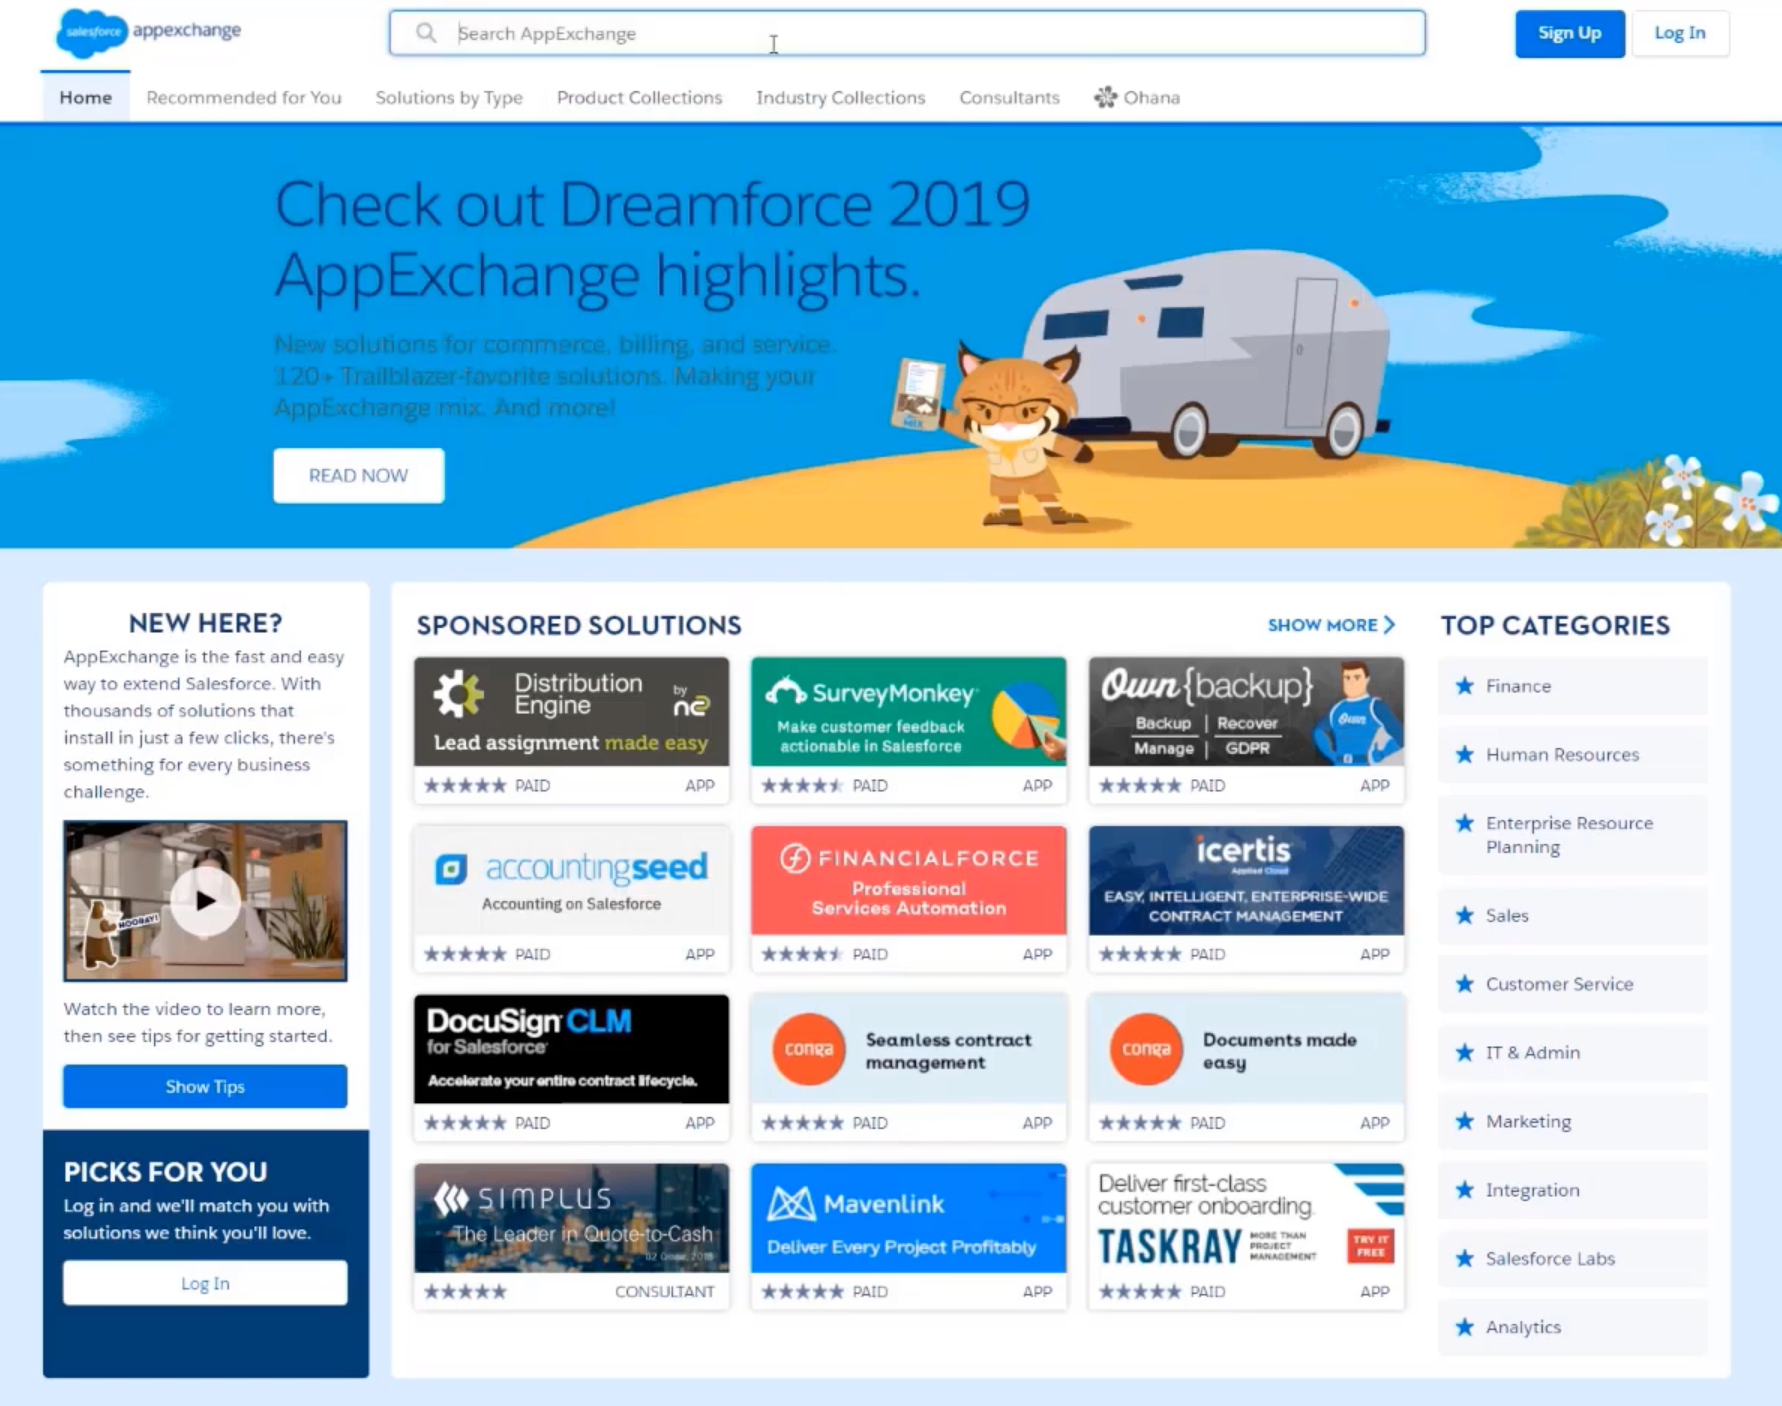
Distribute via AppExchange
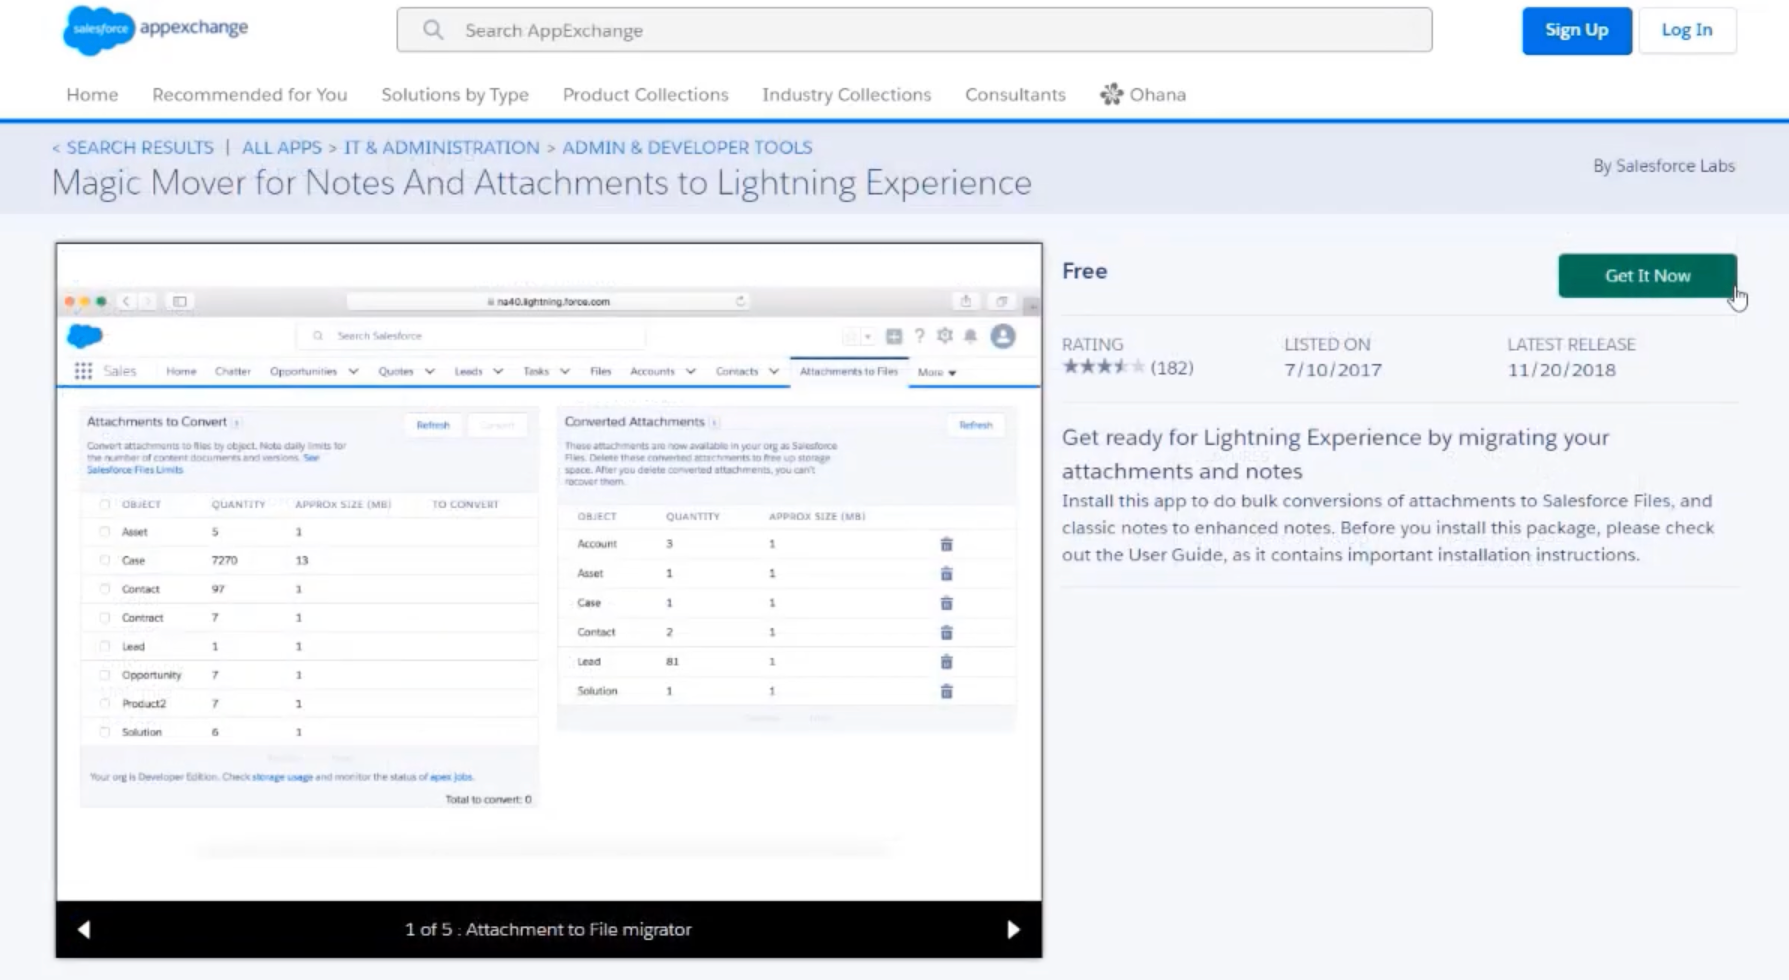
To do that, head over to the AppExchange website and search for the package.
If you found it, click on it, and click on Get It Now from the application information page.
You’ll be then prompted to log into the Salesforce organization you want to install the package for. Click on the Install in Production or Install in Sandbox.
(depending on the organization you want to install it for.)
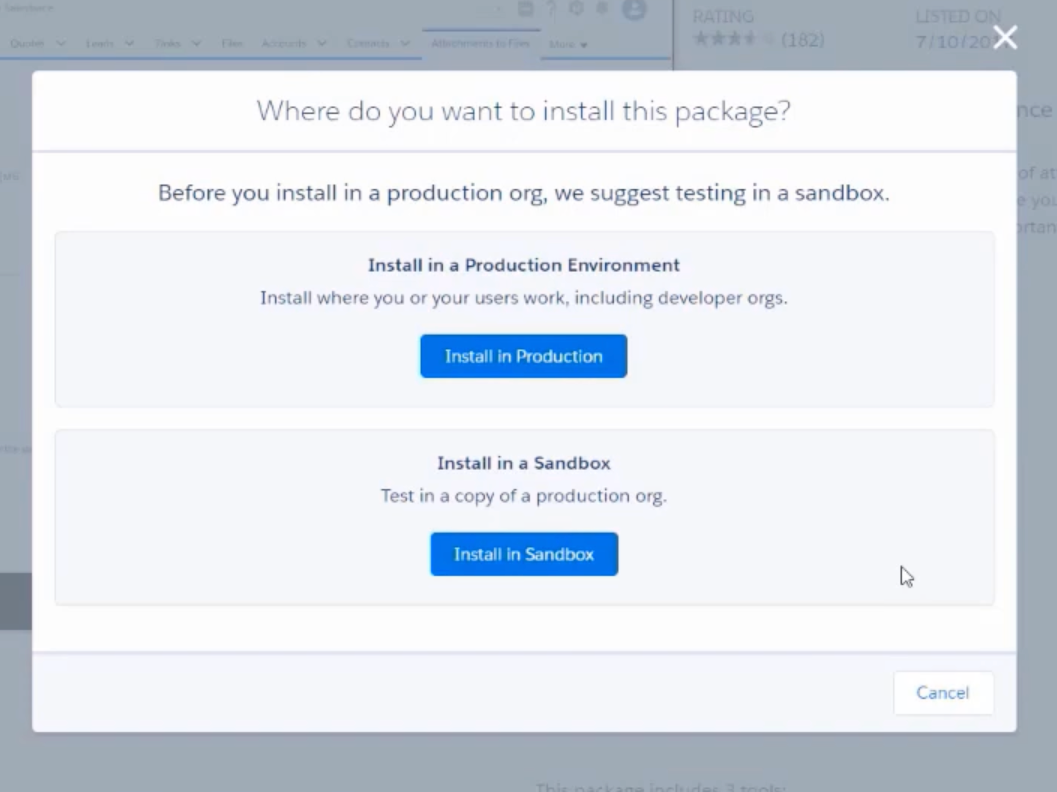
You’ll then need to accept the terms and conditions, and you can install the package. You will need to log into your organization again.
The process from there is the same as with installing a package via a link.
Conclusion
Bolt solutions are the new way to create communities and share them with external organizations. It makes your life easier and helps you distribute communities faster.
(saving you a lot of headaches of creating each community from scratch.)
It’s the best way to create Salesforce Communities.